
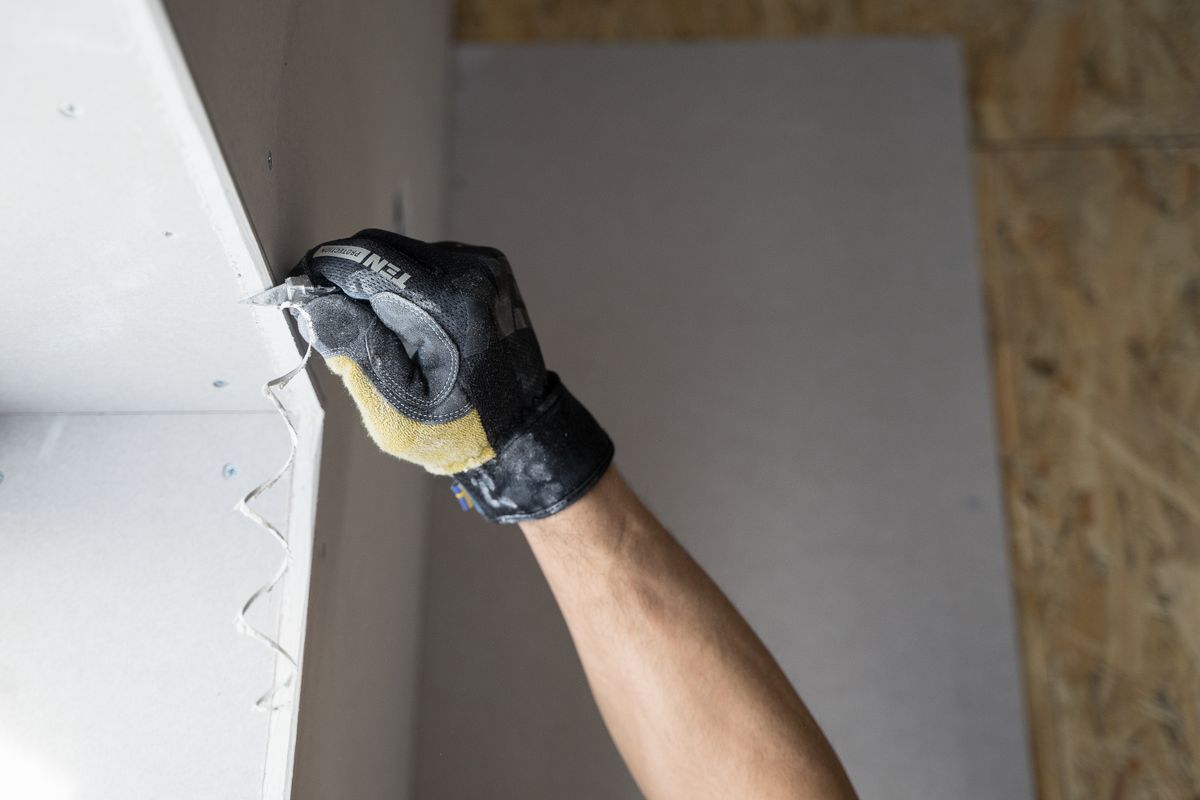
To fix a hole in drywall, match the method to its size. Fill nail and screw holes with spackle. Cover holes up to about 6 inches (15 cm) with a self-adhesive mesh patch or a California patch. For larger holes, cut the opening square, add wood backing, screw in new drywall and tape the seams. Feather thin coats wide, sand and prime.
A hole in drywall looks worse than it is. Most take an hour or so of actual work, spread over a day or two while compound dries. When a DIY repair goes wrong, it’s rarely the hole. It’s the wrong method for the size, rushed coats, or skipped primer — so the patch shows the moment the wall is painted.
Here’s how we repair drywall on site, from nail holes to a section of wall, plus the parts most guides skip: corner bead, cracks, water damage and the plaster walls of older Toronto homes.
Size the damage first: it decides the repair
| Damage | Typical cause | Repair method | Coats before priming |
|---|---|---|---|
| Nail and screw holes, nail pops | Pictures, old anchors, framing shrinkage | Spackle; reset popped nails with a screw | 1–2 |
| Small holes, up to about 2 in (5 cm) | Pulled-out anchors, old cable or thermostat holes | Setting compound, or a small mesh patch | 2–3 |
| Medium holes, 2–6 in (5–15 cm) | Doorknobs, furniture, a removed fixture | Self-adhesive mesh patch or California patch | 3 |
| Large holes, over 6 in (15 cm) | Impacts, plumbing access, removed cabinets | Cut square, add backing, new drywall, tape the seams | 3 over tape |
| Cracks at door and window corners | Movement in the framing | Open up, tape, feather | 3 |
| Water-damaged board | Leaks from above or outside | Fix the source, dry out, cut out and replace | As a large hole |
Tools and materials you’ll actually need
You don’t need a contractor’s kit, but you do need the right compound. Most frustration comes from using one product for everything.
- Lightweight spackle — for nail and screw holes only. It isn’t made for wide or deep fills.
- Setting-type joint compound (a powder, often called “hot mud”, with a set time such as 20, 45 or 90 minutes). It hardens chemically and shrinks less: use it for deep fills and first coats.
- Premixed all-purpose joint compound for finishing coats, because it sands far more easily.
- Paper tape, and self-adhesive mesh patches in a couple of sizes.
- Scrap drywall the same thickness as your wall — usually 1/2 inch (12.7 mm) in houses.
- A jab saw, utility knife, drill, 1-1/4 inch drywall screws and some 1x3 strapping for backing.
- Taping knives (4, 6 and 10 or 12 inch), a fine sanding sponge, primer, a work light and a non-contact voltage tester.
How to fix nail holes, screw holes and nail pops
Press spackle in with a putty knife, scrape it flush and let it dry. It shrinks slightly, so apply a second thin coat, then sand lightly. Keep filler off the surrounding wall — less on, less to sand.
Nail pops — small round bumps in a line along a wall or ceiling — are common in the first few years of a new subdivision home as the framing lumber dries. Pushing the nail back doesn’t fix it. Drive a drywall screw into the stud about 1-1/2 inches (4 cm) above or below the pop to pull the board tight, then set the nail below the surface and fill both.
How to patch a small or medium hole in drywall
For holes up to about 6 inches (15 cm) — the doorknob hole being the classic — there are two good methods.
Option 1: self-adhesive mesh patch
- Trim torn paper and loose gypsum with a utility knife, and knock down edges that stand proud of the wall.
- Stick the patch on centred, with at least 1 inch (2.5 cm) of overlap on every side.
- Apply a thin first coat, pressing compound through the mesh. Don’t try to hide it in one go.
- Once dry, apply a second coat a few inches wider, then a third with your widest knife, feathering out to roughly 12 to 16 inches (30 to 40 cm) across.
Mesh patches are quick and forgiving, but they sit on the surface and build up slightly, which is why wide feathering matters.
Option 2: the California (butterfly) patch
This is the method we reach for most on medium holes, because it finishes flatter. Square up the hole. Cut a piece of drywall about 2 inches (5 cm) larger than the hole in each direction. On the back, score and snap the gypsum to the exact size of the hole, then peel the gypsum off the face paper around the edges, leaving a plug with a paper flange. Butter the hole edges and the back of the flange with compound, press the patch in, and squeegee the flange flat. The flange works as the tape. Finish with two coats, feathered wide.
How to patch a large hole in drywall
Anything bigger than about 6 inches needs something solid behind it and a new piece of board.
- Mark a rectangle around the damage and check what’s behind it first: shine a light in, switch off the circuit if an outlet or switch is nearby, test with a voltage tester, and cut in shallow passes.
- Cut out the rectangle. Either extend the cut to the centre of the nearest stud on each side, or screw two lengths of 1x3 strapping inside the opening, behind its edges, as backing.
- Cut new drywall the same thickness, leaving a 1/8 inch (3 mm) gap all round, and screw it in roughly every 6 inches (15 cm), heads just below the surface without tearing the paper.
- Fill the gaps with setting compound, then bed paper tape over every seam.
- Apply two finishing coats over the tape, each wider than the last.
Exterior walls usually have insulation and a plastic vapour barrier behind the drywall. If you cut the poly, tape it back together with vapour-barrier tape before closing the wall, or warm, moist indoor air will reach the cold side of the wall all winter.
One more caution: the wall and ceiling between an attached garage and the house are built to keep exhaust fumes out. Patch them with board matching what’s there (check the thickness and markings on the cut edge), and tape and seal every seam fully.
Repairing damaged corner bead
Outside corners take the hits: vacuums, strollers, furniture going down a hallway. A shallow dent in metal corner bead can be filled with setting compound and feathered. If the bead is bent, cracked loose or crushed, filler won’t hold. Cut out the damaged length with tin snips and a hacksaw, fasten new bead (metal, or paper-faced bead set in compound), and finish in three coats, using the nose of the bead to guide your knife. Check it with a straightedge.
Fixing cracks at door and window corners
Diagonal cracks from the corners of door and window openings are among the most common wall repairs in GTA houses, because movement in the framing concentrates there. Filling the crack alone rarely lasts. Instead, open it into a shallow V with a utility knife, fill with setting compound, bed paper tape over it, and feather two coats wide. If a crack returns after a properly taped repair, is widening, or is stepped, find out why before patching again.
Water-damaged drywall: fix the source first
A brown ring on a ceiling, bubbling paint or a soft spot means water got in. Patching before you know the source is the most expensive mistake on this page, because the stain or mould comes back through the new work. Common culprits in GTA homes: a bathroom above, a slow drain or supply leak, a failed window seal, and ice damming at the eaves in late winter. Plumbing leaks go to a licensed plumber; the wall repair follows.
Once the source is fixed, board that is soft, crumbly or sagging comes out. Cut back beyond the stain to sound, dry board, let the cavity dry fully, and replace wet insulation. If there’s mould on the back of the board, cut out more, not less. Then repair it as a large hole, and seal any remaining stain with a stain-blocking primer.
Plaster and lath is a different repair
If your home was built before roughly the 1950s — much of older Toronto, and the original cores of places like Woodbridge, Unionville and Newmarket — the walls may be plaster over wood lath. Tap it: plaster is hard, cold and dense, and a pushpin won’t go in. It’s also thicker than drywall, often around 7/8 inch (22 mm) including the lath.
Loose plaster around a hole has to be reattached to the lath first, with plaster washers and screws, or it will crack again around the patch. Small holes can be built up with setting compound in layers. Larger holes can take a drywall insert, shimmed flush with the plaster face, then taped and skimmed. Never skim over plaster that moves when pressed.
Two safety points for older houses: homes built before about 1990 may have asbestos in textured ceilings, plaster or old joint compound, and homes built before 1960 are likely to have lead in older paint layers. Have suspect materials tested before sanding or cutting — Health Canada publishes guidance on both.
Feathering, sanding and priming so the patch doesn’t show
This is where a repair either disappears or doesn’t. Three habits make the difference:
- Feather wide. Each coat should extend a few inches past the last, so a doorknob patch ends up 12 to 16 inches across. A narrow, thick patch reads as a bump.
- Sand lightly, then stop. A fine sponge, around 150 grit, knocks down ridges; over-sanding scuffs the surrounding paper face, which shows as fuzz under paint.
- Prime before you paint. Compound absorbs paint differently from a painted wall, so an unprimed patch “flashes” — a dull or shiny spot in daylight. Spot-prime, then paint with a roller rather than a brush so the patch picks up the same texture as the rest of the wall.
Check your work with a flashlight held flat against the wall, so the beam skims across the surface. Raking light shows every ridge and hollow that overhead light hides. If you can see it at that angle, you’ll see it in afternoon sun.
A touch-up only disappears if the paint matches exactly, sheen included. On paint that has aged or faded, it’s often better to repaint the wall corner to corner — something our painting and touch-up service can handle in the same visit as the repair.
Common drywall patching mistakes
- Using spackle on a hole that needed a patch — it shrinks, cracks and eventually falls out.
- Closing a large hole without backing, so the patch flexes and cracks when bumped.
- Recoating before the previous coat is dry, which causes bubbles and cracking.
- Painting over a water stain without finding the leak.
- Driving screws so deep they tear the face paper, leaving nothing holding the board.
- Patching a stipple or popcorn ceiling smooth, so the repair stands out as a flat island.
When DIY stops making sense
Nail holes and a single doorknob patch are well within reach for most homeowners. It’s usually worth calling in help when:
- The damage is on a ceiling, where compound fights gravity and a large patch needs support while it’s fastened
- The hole is larger than about 12 inches (30 cm), or there are several patches across a room
- There’s water damage and you aren’t certain the source is fixed
- The walls are plaster and lath, or there’s a ceiling texture to match
- The house is older and materials may need testing before they’re disturbed
- You need the wall finished and painted, not just patched, by a fixed date — before a listing or a move-in
Our crews come from custom-home building, where a finished wall is judged in raking light, and we bring that standard to a single doorknob hole. A drywall repair visit in Toronto and the GTA takes the wall from damaged to primed, or through to painted. Several patches in one visit cost far less per patch than separate call-outs — how handyman pricing works in Toronto explains why. Send a few photos through our contact page for a free, flat-rate quote.
Frequently asked questions
Spackle is a lightweight filler for small holes such as nail and screw holes. It dries quickly and sands easily but isn’t designed for wide or deep repairs. Joint compound is what drywall seams and patches are built from. Setting-type compound hardens chemically and shrinks very little, which makes it right for deep fills and first coats; premixed compound is easier to sand, so it suits the finishing coats.
Setting-type compound hardens in the time printed on the bag, typically 20 to 90 minutes, and can be recoated once set. Premixed all-purpose compound usually needs around 24 hours per coat, longer for a thick fill or in a damp basement. Wait until it’s evenly pale with no darker damp spots before sanding, and let the primer dry fully before painting. Rushing is the most common cause of cracks and bubbles.
Rarely. A hole of almost any size can be cut back to a neat rectangle, backed with wood strapping or cut to the studs, and filled with a new piece of the same thickness. Full-sheet replacement makes sense when the damage spans most of the sheet, when the board is water-damaged or mouldy over a wide area, or when several patches close together would take longer to finish than a new sheet.
Usually one of three reasons. The patch wasn’t primed, so the compound absorbed the paint differently and flashes a different sheen. The edges weren’t feathered wide enough, so the patch reads as a raised bump in side light. Or the patch was painted with a brush on a wall that was rolled, so the texture differs. Sand it smooth, prime it, then roll the paint on to match.
Not quite. Plaster is thicker than drywall and keyed onto wood lath, so loose plaster around a hole must be reattached with plaster washers before patching, or it will crack again. Small holes can be built up with setting compound in layers. Larger holes can take a drywall insert shimmed flush with the plaster face. In older homes, have the materials tested for asbestos or lead before sanding.
Sources & further reading
Related service

Alan
Project Manager, FixitPlus Inc.
Alan has spent more than 20 years building in the Greater Toronto Area — custom homes from foundation to final trim, second-storey additions, and full-house renovations. He runs every FixitPlus job as the single point of contact, from the first quote through the final walkthrough, and writes the advice on this site from what actually happens on site.
- 20+ years of custom-home building across the GTA
- Project manager on new builds, additions and whole-home renovations
- Single point of contact on every FixitPlus job
Need this done at your place?
Get a free, no-obligation quote from a builder-trained crew.